Are you ready for Halloween?
-
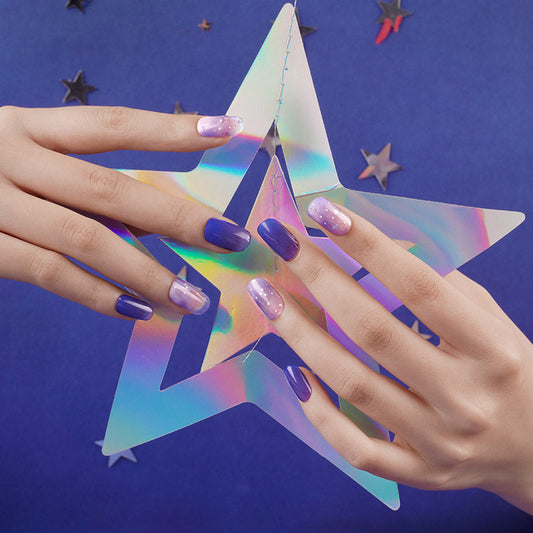
Blue Galaxy Semi-Cured Gel Nail Wraps Kit
Regular price $19.99 AUDRegular price$25.50 AUDSale price $19.99 AUDSale -
Ghostly Semi Cured Gel Nail Sticker Kit
Regular price $19.99 AUDRegular price$25.50 AUDSale price $19.99 AUDSale -
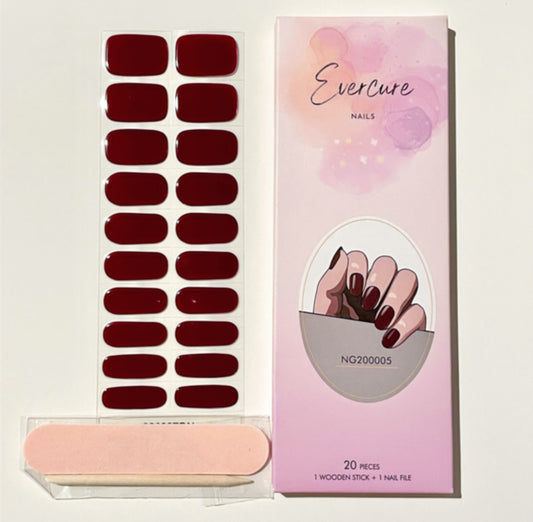
Shiraz Semi-cured Gel Nail Wrap Kit
Regular price $19.99 AUDRegular price$25.50 AUDSale price $19.99 AUDSale -
Sour Apple Semi-cured Gel Nail Wraps Kit
Regular price $19.99 AUDRegular price$25.50 AUDSale price $19.99 AUDSale -
Pine Tree Semi cured Gel Nail Sticker Kit
Regular price $19.99 AUDRegular price$25.50 AUDSale price $19.99 AUDSale -
Candy Apple Red Semi-Cured Gel Toe Nail Wraps Kit
Regular price $19.99 AUDRegular price$25.50 AUDSale price $19.99 AUDSale -
Black Widow Semi-Cured Gel Nail Wraps Kit
Regular price $19.99 AUDRegular price$25.50 AUDSale price $19.99 AUDSale -
Black Galaxy Semi-Cured Gel Nail Wraps Kit
Regular price $19.99 AUDRegular price$25.50 AUDSale price $19.99 AUDSale


Blog posts
View all-
Semi Cured Gel Nail Stickers Versus Normal Nail...
Understanding the benefits, differences and drawbacks of each type of nail technology. Evercure nails semi-cured gel nail sticker kits versus normal nail wraps.
Semi Cured Gel Nail Stickers Versus Normal Nail...
Understanding the benefits, differences and drawbacks of each type of nail technology. Evercure nails semi-cured gel nail sticker kits versus normal nail wraps.
-
What Makes Evercure Nails' Semi-cured Gel Nail ...
This blog covers the benefits and application process of Evercure Nails semi cured gel nail stickers and tips and tricks for achieving stunning manicures at home.
What Makes Evercure Nails' Semi-cured Gel Nail ...
This blog covers the benefits and application process of Evercure Nails semi cured gel nail stickers and tips and tricks for achieving stunning manicures at home.
-

How to Properly Apply Semi-cured Gel Nail Stick...
Application guide to achieve stunning salon quality nails with Evercure Nails' semi-cured gel nail sticker kits.
How to Properly Apply Semi-cured Gel Nail Stick...
Application guide to achieve stunning salon quality nails with Evercure Nails' semi-cured gel nail sticker kits.


